
Sooner or later every label design has to leave the screen and become something physical, and the humble PDF is how it usually travels. It carries your layout, your fonts and your exact measurements from one machine to another without shifting a pixel, which is precisely what you want when a label has to be a certain size and no other. The trouble is that a PDF can be printed carelessly as easily as carefully, and a beautiful design ruined by a wrong print setting looks no different from a bad design.
There is not one correct way to export a label to PDF — there are two, and they serve genuinely different jobs. Knowing which one you want, and how to print it once you have it, is the difference between labels that fit your stock perfectly and a drawer full of near-misses. Find Asset's Export PDF offers both modes, so the choice is yours to make deliberately rather than by accident.
Two exports for two different printers
The first mode is a label-size PDF: one label per page, and the page is sized to the exact dimensions of the label itself — 50.8 by 25.4 millimetres, say, and nothing more. There is no margin, no surrounding paper, just the label filling the whole page. This is the format a dedicated label printer or thermal unit expects, because those machines feed one physical label at a time and assume the page in the file matches the sticker on the roll. Hand a thermal printer a page the same size as its media and everything lines up without a fight.
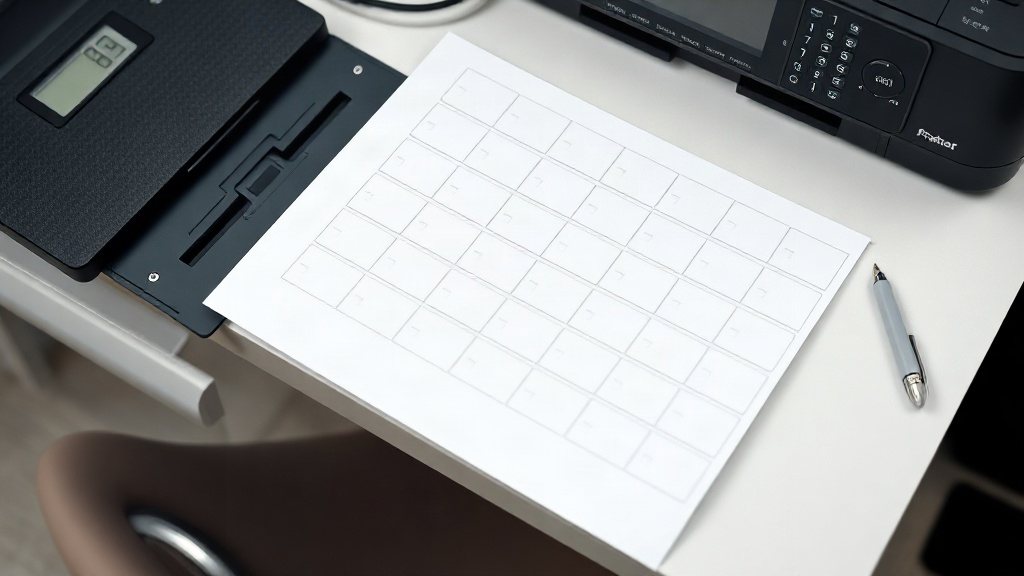
The second mode is an A4 sheet PDF: many labels tiled into a grid on an ordinary A4 page, with small gaps between them and faint cut-guides to show where to trim. This is the format for an office inkjet or laser printer, the kind that lives down the corridor and only knows how to handle standard paper. It is also what you want for DIY sticker sheets and for colour work, where a whole page of labels comes off the printer at once and you separate them afterwards. One export gives you a single sheet; the other gives you a production line.
Exporting to PDF is one of many ways your data leaves the system on your terms. Find Asset even surfaces AI-assisted insights (above) over that same data, but the principle is constant: what you put in, you can always get back out.
Print at actual size, never fit to page
Whichever mode you choose, one print setting matters more than all the others combined: print at 100%, "Actual size", or "Actual size (100%)", and never at "Fit to page" or "Shrink to fit". A label-size PDF is measured to the millimetre precisely so that the print comes out dot-accurate, and the moment a printer is allowed to scale the page "to fit", those careful measurements are quietly stretched or squeezed and the label no longer matches its stock. Fit-to-page is a helpful default for photographs and letters; it is the enemy of anything that has to be a specific size.
The failure is easy to miss because a scaled label still looks like a label — it is only when you lay it against the physical sticker, or feed it through a thermal printer expecting exact media, that the few lost millimetres show themselves. The habit worth building is to check the scale setting every single time you print, before the paper moves, rather than trusting that it stayed where you left it. Print dialogs reset, drivers update, and "fit to page" has a way of switching itself back on. Confirm 100%, print one, measure it against the real thing, and only then run the batch.
When colour matters, and when it does not
Thermal printers, the workhorses of asset labelling, are monochrome by design — they burn black onto the label and know nothing of colour. If your labels are heading for a Zebra or similar thermal unit, colour in the design is wasted effort at best and a source of muddy greys at worst, so keep those designs clean and black-on-white. A well-designed Zebra label earns its clarity from strong contrast and generous spacing, not from colour it can never reproduce.
Colour comes into its own on the other side of the divide. An office inkjet or laser will happily lay down a coloured category band, a department colour or a logo, and the A4 sheet mode is where that pays off — whole pages of colour-coded labels for filing, zoning or quick visual sorting. Colour sublimation, where the design is pressed permanently onto a surface, is another case that genuinely needs full colour and a sheet to work from. Match the export to the printer and the colours land where they can actually survive, rather than being flattened to grey the instant they meet a thermal head.
Cutting cleanly from an A4 sheet
An A4 sheet is only as good as the cut that separates it, which is why the faint cut-guides and the small gaps between labels are worth respecting rather than ignoring. The gaps give a blade or a guillotine somewhere to land without clipping the design, and the guides show exactly where that landing should be. A steel rule and a sharp craft knife on a cutting mat will out-perform scissors every time for straight edges, and a small guillotine turns a page of labels into a neat stack in seconds.
If you are printing onto pre-cut sticker sheets rather than plain paper, the grid in the export can be set to match the sheet's own die-cut layout, so each label prints inside its own peel-away rectangle and no cutting is needed at all. The thing to avoid is crowding labels edge to edge to save paper, because a design with no gap leaves no margin for the small drift every printer has, and the first slightly-off page turns into a row of labels trimmed through their own text. A little breathing room on the sheet is cheaper than a wasted batch.
One design, printed across many assets
The real economy of a PDF export shows up when a single design has to serve a hundred different assets. You design the label once — the layout, the fields, the barcode or QR placement — and the export fills that one template with the details of every asset you have selected, each page or each tile carrying its own ID and description. Nothing is redrawn by hand; the design is the constant and the data flows through it. This is how a small team labels an entire inventory in an afternoon rather than a week.
Because the design and the data are kept apart, a change to the template ripples through every label at once, and a change to an asset's details shows up the next time you export without touching the design at all. This same one-design-many-assets principle is what makes it practical to print hundreds of labels from one design without the quality drifting from the first label to the last. Whether you send them out as a label-size PDF for a thermal printer or an A4 sheet for the office, the design stays identical across the whole run.
| Label-size PDF | A4 sheet PDF |
|---|---|
| One label per page, sized to the exact label | Many labels tiled in a grid on a standard A4 page |
| Best for dedicated label and thermal printers | Best for office inkjet and laser printers |
| Feeds one sticker at a time from a roll | Prints a whole page, then you cut along the guides |
| Monochrome, black-on-white for thermal units | Handles colour — coding, logos, sublimation |
| Print at 100% for dot-accurate size | Print at 100%, then trim on the gaps |
Exporting labels to PDF, the short version
- Choose a label-size PDF for thermal and dedicated label printers.
- Choose an A4 sheet PDF for office printers, sticker sheets and colour.
- Always print at 100% or "Actual size" — never "fit to page".
- Keep thermal designs monochrome; save colour for office and sublimation.
- Respect the gaps and cut-guides so trimming stays clean.
Printed, sorted, filed
Exporting asset labels to PDF is a small step that decides whether your labels come out right or nearly right. Pick the label-size export when a thermal printer is feeding stickers off a roll, pick the A4 sheet when an office printer is laying out a page to be cut, print at actual size every time, and keep colour where it can survive. Get those choices right and the same design serves a single asset or an entire register with no drop in quality from the first label to the last.
None of this needs to be fiddly once the two modes are clear in your mind: one PDF for precision on a roll, one for volume on a page, and a single print setting to guard against between them. If you would rather design a label once and export it either way across every asset you own, you can start a free 14-day trial and have your first sheet of tags printed the same afternoon. The format is simple; the discipline of choosing it deliberately is what keeps your labels dependable.