
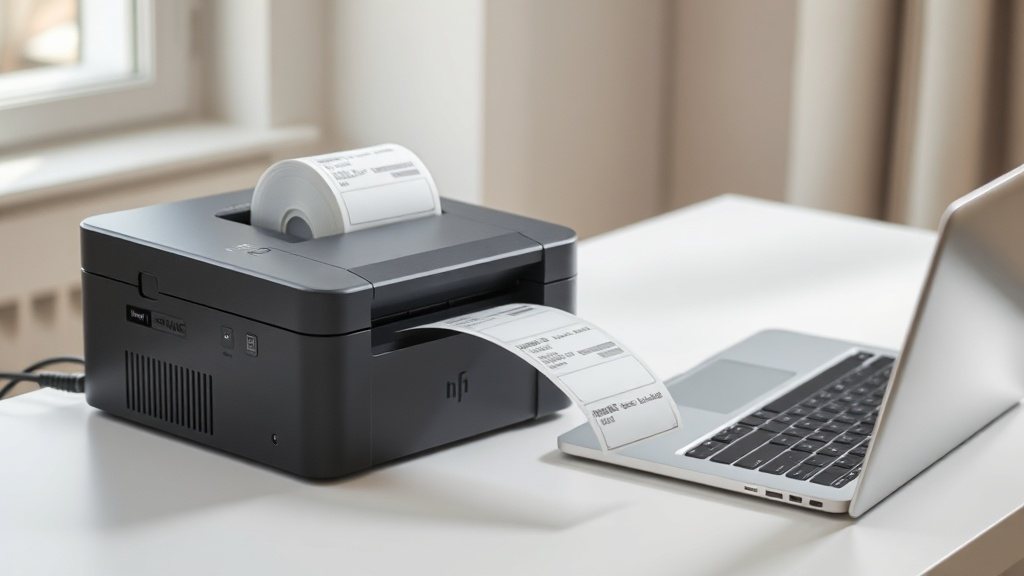
There is a particular kind of tedium that comes from typing labels one at a time. You have a register of assets sitting in a spreadsheet, every tag and every location already recorded, and yet the printing feels like starting from nothing: click, type the tag, type the name, print, repeat, until the afternoon has gone and the mistakes have crept in. It does not need to be that way. The spreadsheet you already keep is not just a record; it is a data source, and a good label designer can read from it directly.
The idea is simple enough to describe in a sentence. You design one label, you point it at your sheet, and the designer prints one label for every row, filling each with that row's own values. What follows is the honest workflow behind that sentence: how to prepare the sheet so the merge behaves, how to connect it in Designer Studio, how to bind each field to a column, and how to check your work before you commit a roll of stock to a run of several hundred.
Why a spreadsheet is the right starting point
A spreadsheet is the natural home for asset data because it is already a table. Each asset is a row, each attribute is a column, and the whole thing is easy to sort, filter and correct. When you print from that table rather than from memory, the label stops being a fresh act of typing and becomes a faithful reflection of a record you have already checked. If the tag is wrong on the label, it was wrong in the sheet, and that is a single place to fix it rather than a hundred.
This matters more as the numbers grow. Ten labels can be typed by hand without much risk. Three hundred cannot, not reliably, because attention frays and the eye starts to read what it expects rather than what is there. A merge removes the human from the copying step entirely. Your job shifts from transcription to curation: get the sheet right, and the labels are right by construction. That is a far more comfortable place to stand when a print run is about to begin.
Preparing a clean spreadsheet
Everything downstream depends on the tidiness of the sheet, so it is worth a few unhurried minutes here. The rule that carries the most weight is one row per asset and one header row at the very top. Give each column a plain, unambiguous name, something like Asset Tag, Asset Name and Location, because those headers are what you will see later when you bind fields. A header row that reads clearly makes the binding step feel obvious rather than a guessing game.
The failures that spoil a merge are nearly always structural. Merged cells confuse the row-by-row reader, so avoid them. Blank rows in the middle of the data can be read as empty assets, so keep the list contiguous. Stray notes tucked into a spare column, a title floating above the header, a summary total pinned to the bottom, each of these is a small trap. Keep the sheet to pure tabular data: a header, then rows, then nothing. If you already maintain your register elsewhere, our note on how to import assets from spreadsheet covers the same tidy-data discipline from the other direction, and the habits transfer neatly.
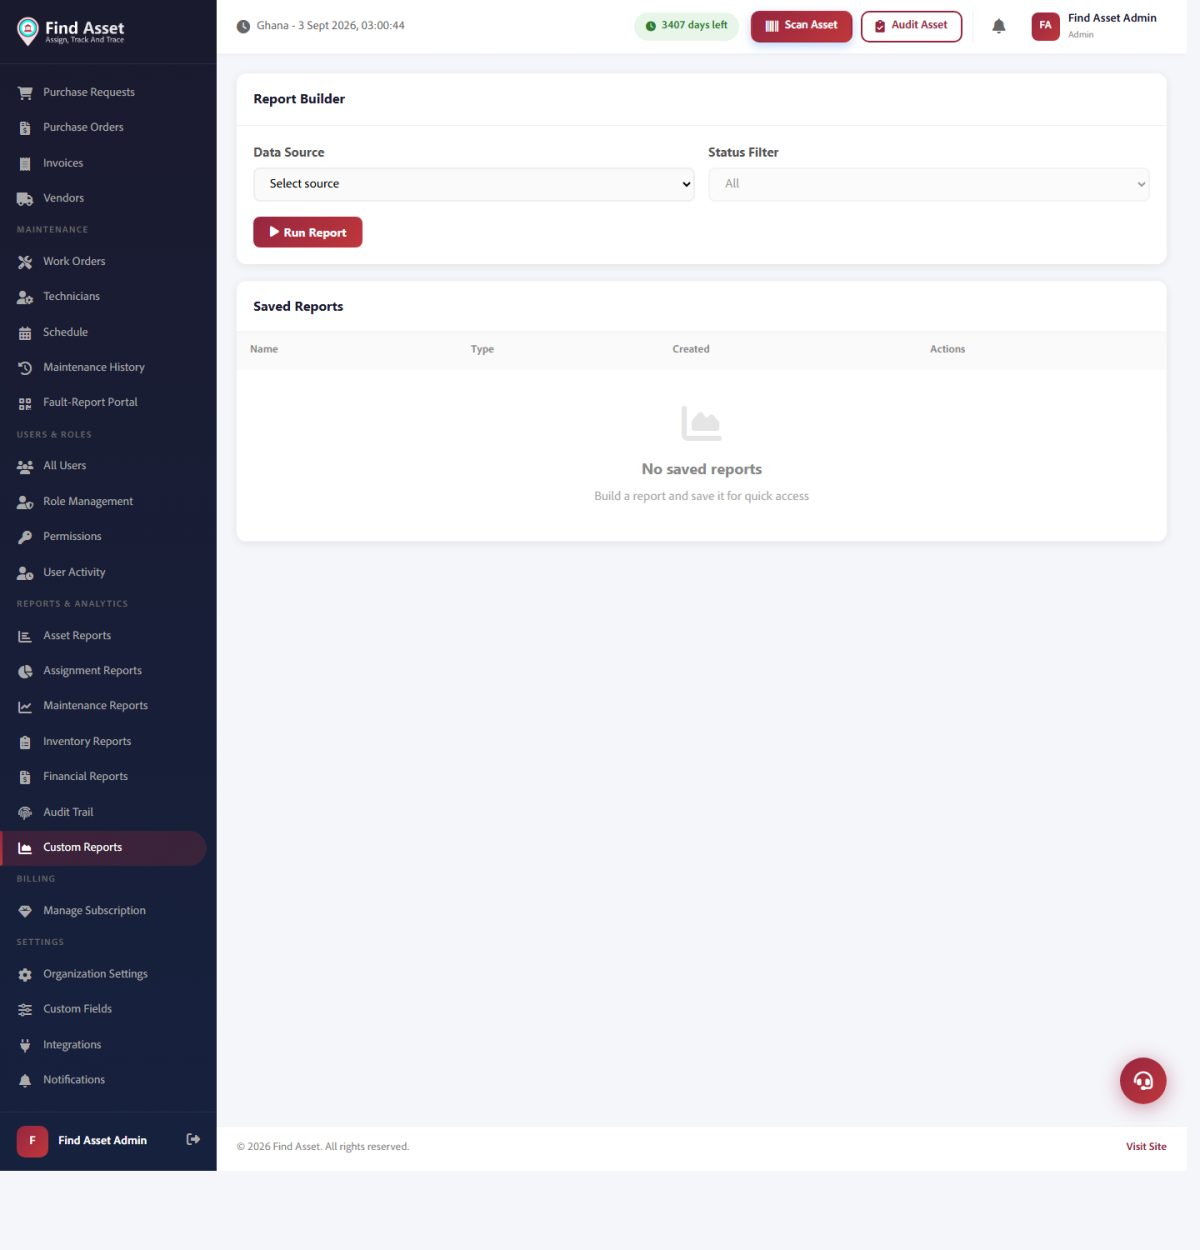
Printing from a spreadsheet is really printing from a list. Find Asset's custom reports (above) let you build precisely the set of assets you want to label, which then feeds straight into a print run.
Saving the file so Designer Studio can read it
Once the sheet is clean, save it in a format the designer can open. An Excel workbook works, and so does a plain CSV, which is often the more predictable of the two because it strips away formatting and leaves only the values and their commas. If you are unsure which to reach for, a CSV export is a safe default; it is a small, portable text file that almost anything can read, and it rarely surprises you.
There is one detail to watch when you export, and it concerns numbers that are really codes. Asset tags with leading zeros, telephone-style identifiers, and anything that begins with a zero you want to keep, can be quietly trimmed by a spreadsheet that decides the value is a number. Format those columns as text before you save, so that 00471 stays 00471 rather than collapsing to 471. It is a five-second precaution that saves a reprint.
Connecting the sheet as a data source
With a clean file in hand, open your label in Designer Studio and connect the sheet as a data source. The designer reads the header row and offers you the columns by name, so a well-labelled sheet pays off immediately: instead of cryptic Column A and Column B, you see Asset Tag and Location, and the mapping ahead is self-explanatory. This is the moment the design stops being a single static label and becomes a template waiting to be filled.
Think of the connection as a live link rather than a one-off paste. The design now knows where its values come from, and it will step through the rows in order when you print. If you later correct a typo in the sheet and reconnect, the labels follow the corrected data. That separation, design in one place and data in another, is exactly what lets one layout serve a whole register, and it is the same principle we explore in print hundreds from one design.
Binding fields to columns
Binding is where the template comes alive. Instead of typing a fixed tag into a text element, you tell that element to draw its value from the Asset Tag column. Do the same for the name and the location, and each text field becomes a window onto its column. When the print runs, row one fills the windows with row one's values, row two with row two's, and so on down the sheet, each label unique without a single extra keystroke.
The barcode and the QR code bind in exactly the same way, and this is the part that most repays a little care. A barcode element pointed at the Asset Tag column encodes each row's tag automatically, so the scannable mark and the printed text always agree. If your labels carry a QR code linking to an asset record, bind it to the column that holds the identifier and every label carries its own. Our guides on adding QR codes to asset labels and the differences between barcode symbologies explained go deeper on choosing the right encoding, but the binding motion is identical whichever mark you use.
Choosing the right kind of data source
A spreadsheet is not the only way to feed a design, and knowing the alternatives helps you pick the lightest tool for the job. Designer Studio can also generate labels from a serial-number range or from a list you paste directly, and each suits a different situation. The distinction is really about where your values already live and how structured they need to be.
The short version is that a spreadsheet is for real, varied data with several columns; a serial range is for a plain run of sequential numbers with nothing else to say; and a pasted list is for a quick, one-off batch you do not want to save. The table below lays out when each earns its place, so you can match the method to the moment rather than reaching for a spreadsheet out of habit.
| Data source | Best for | What each label carries |
|---|---|---|
| Spreadsheet or CSV | Real asset registers with several attributes per item | Tag, name, location and codes, all drawn from named columns |
| Serial-number range | A plain sequence with no other varying data | One incrementing number per label, start and step of your choosing |
| Pasted list | A quick, throwaway batch you will not need again | One value per line, typed or pasted in on the spot |
| Single static label | A one-off with no variation at all | Fixed text you set once and print as many times as needed |
Previewing before you print
Before any real stock moves through the printer, use the live preview and record navigator to walk the data. The preview renders the label as it will print, filled with an actual row rather than placeholder text, and the navigator lets you step forward and back through the sheet. Jump to the first row, the last, and a couple in the middle, and read what appears. This is where you catch the quiet problems: a name that overflows its box, a location left blank, a tag that lost its leading zero after all.
Reading a preview is a different discipline from designing a label, and it deserves its own moment of attention. You are no longer judging the layout; you are auditing the data through the layout. A field that looked fine on a short example can misbehave on the longest entry in your register, and the navigator is how you find that entry before it finds you. Give it a genuine pass rather than a glance, and the big run holds no surprises.
Before a big run
- One row per asset, one clear header row, no merged cells or blank rows.
- Format tag columns as text so leading zeros survive the export.
- Bind every field, including the barcode and QR, to a named column.
- Step through first, middle and last rows in the record navigator.
- Print a single test label and scan it before committing the roll.
Validating the data and printing a test label
The last guard against a wasted run is a deliberate validation pass followed by a single test print. Scan the sheet for the usual culprits: blank cells where a value is required, special characters that a barcode symbology may not accept, trailing spaces that hide inside a cell, and those leading zeros one more time. Most of these are invisible until they reach the label, which is precisely why a moment of suspicion here is worth more than any amount of care later. The format most likely to travel cleanly between your spreadsheet and the designer is a plain CSV, because it carries values and nothing else.
Then print one label. Just one. Peel it, look at it in the light, and pass a scanner over the barcode to confirm the code matches the printed tag. A single test label costs you almost nothing and tells you almost everything: whether the alignment is right, whether the density suits your stock, whether the data reads back the way it went in. Only once that one label satisfies you should you send the full run, and by then the outcome is no longer in doubt.
The tidy-data habit that makes it reliable
If there is a single lesson underneath all of this, it is that a clean spreadsheet is the whole game. The designer is only ever as good as the table it reads, and every problem worth avoiding is avoided upstream, in the sheet, before a connection is ever made. Tidy data is not a chore you do for the software; it is the thing that lets the software do its work invisibly, so that pressing print feels like a formality rather than a gamble.
That habit compounds over time. A register kept clean prints cleanly this month and next, and it rewards you again whenever you reprint a damaged label or add a new batch of assets. The same discipline that makes a merge reliable also makes your data trustworthy for everything else you ask of it, which is why the effort never feels wasted. Good labels, in the end, are just a visible side effect of good records. If you want the layout itself to be as sound as the data, our note on how to design a clean Zebra label pairs naturally with everything here.
Bringing it together
Printing labels from a spreadsheet is less a feature to learn than a habit to adopt. Keep one row per asset, name your columns plainly, export a clean CSV, connect it as a data source, bind each field, preview the rows and print one test before the many. Do that and a run of hundreds becomes as calm as a run of one. If you would like to try the whole workflow end to end, you can start a free 14-day trial and print your first merged batch from a sheet you already keep.
What makes the approach quietly satisfying is how little it asks of you once the sheet is tidy. The design holds still, the data does the varying, and the printer simply steps through your register one row at a time. You spend your attention where it counts, on the accuracy of the record, and let the merge handle the repetition it was built for. That is the shape of a good tool: it takes the tedious part off your hands and leaves the judgement with you.