

The hardest part of asset management is not the software; it is the first month. Everyone starts full of good intentions, imports a few hundred assets, then loses momentum when the register drifts out of date and the whole thing quietly becomes another abandoned system. The organisations that succeed treat the first thirty days as a deliberate rollout, not a casual experiment, and they see results because of it. A little structure early on turns a hopeful trial into a habit your team keeps.
This plan breaks those first thirty days into four manageable weeks, each with a clear goal and a small set of tasks. You do not need to track everything on day one, and you certainly should not try. Instead you build a solid foundation, add real assets gradually, get your people comfortable, and finish the month with a system that runs itself. Whether you are a school in Kumasi, an NGO in Nairobi or a growing firm anywhere, the rhythm below works.
Before you start: set one clear goal
Rolling out asset management without a goal is how projects drift. Decide, before you touch anything, what problem you most want to solve. Maybe it is stopping equipment from going missing, maybe it is passing an audit cleanly, maybe it is simply knowing what you own and where it lives. Write that single goal down. Everything you do over the next thirty days should serve it, and when you are tempted to over-complicate things, that goal is what tells you to stop and keep it simple.
A clear goal also sets your scope. If your aim is controlling high-value equipment, you do not need to log every stapler and extension cord in week one. Narrowing focus keeps the early effort achievable and the momentum high. You can always widen coverage later once the habit is established. The most common reason rollouts fail is trying to track everything at once; the most common reason they succeed is starting with the assets that actually matter and expanding from there.
Week one: build the foundation
Your first week is about structure, not volume. Resist the urge to import thousands of assets before the shape of your system is right. Spend these days setting up your account, understanding the layout, and following our getting started with Find Asset walkthrough so the basics feel familiar. The aim is to end the week knowing where things live in the system and how a single asset flows from creation to a printed label, even if you have only entered a handful so far.
Foundation also means deciding how you will organise things before the data floods in. A little planning now around categories, locations and departments saves enormous cleanup later, which is exactly why it helps to read our guide on organising categories, locations and departments this week. Think about how your organisation naturally groups its equipment and mirror that structure in the system. Get this scaffolding right and every asset you add afterwards will slot neatly into place instead of piling up in a messy, unsearchable heap.
Week two: get your real assets in
With the structure in place, week two is when the register comes alive. Start entering your real assets, beginning with the high-value or high-risk items that matter most to your goal. You can add them individually or import a batch from a spreadsheet if you already have one. Do not aim for perfection or total coverage yet; aim for a solid core of genuinely important assets, each with an accurate location, category and custodian so the data means something from day one.
As you enter assets, print and attach labels straight away rather than saving it for later. An asset without a physical tag is only half-tracked, and the discipline of labelling as you go prevents a daunting backlog. Walk the offices, stores or sites with your labels and a scanner, matching each physical item to its record. This is often the moment the system clicks for people, because they see the digital register and the real world line up for the first time and understand why it is worth the effort.
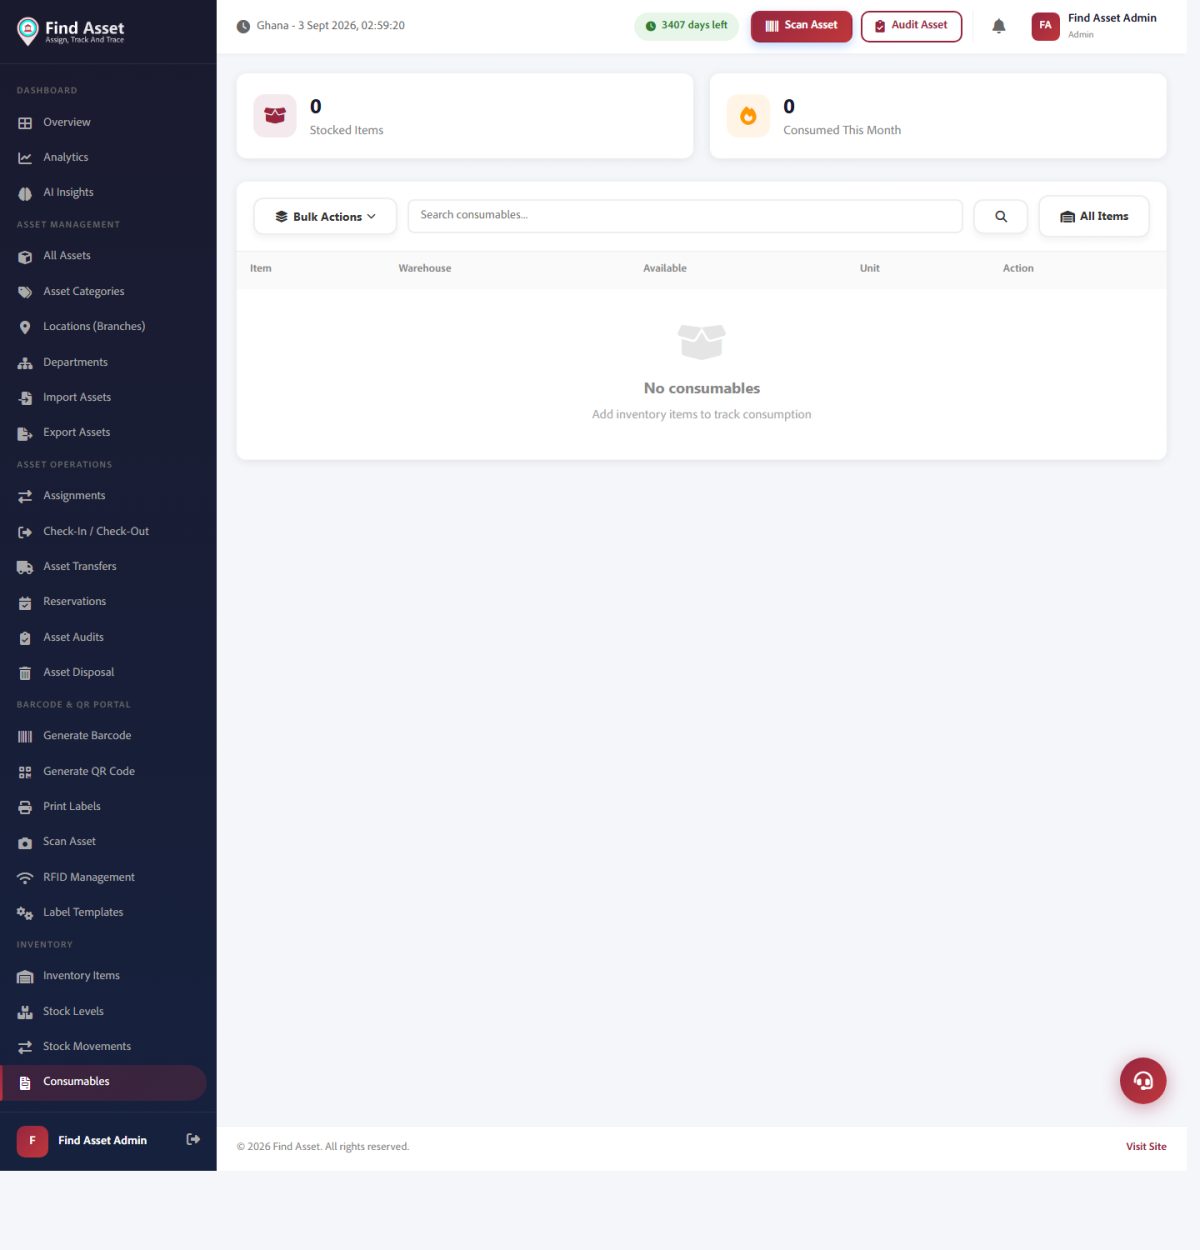
A first-month rollout should capture more than big-ticket assets. Find Asset also tracks consumables (above), so planning the early weeks means deciding what stock and supplies come into the system alongside the equipment.
Week three: bring your people in
A system used by one person dies the moment that person is busy or leaves. Week three is about spreading the load. Identify the handful of people who will actually interact with assets, custodians, department heads, storekeepers, and give them access with roles that match their responsibilities. Keep it simple: most people only need to view their assets and report changes, while a smaller group needs to add, move and retire items. Matching access to real jobs prevents both confusion and accidental damage to your data.
Training at this stage should be short and hands-on. Skip the long presentation and instead sit with each person while they do one real task: finding an asset, logging a movement, reporting a fault. Ten minutes of doing beats an hour of watching. When people successfully complete a real action with their own hands, they leave confident rather than overwhelmed. By the end of week three your system should have several active users, not just one champion carrying the whole thing alone.
Your 30-day rhythm
- Week 1: set structure, categories, locations and departments
- Week 2: enter and label your high-value assets first
- Week 3: add users and train them on one real task each
- Week 4: set routines so the register stays accurate on its own
Week four: make it stick
The final week is about turning a fresh setup into a lasting habit. A register is only useful if it stays accurate, and accuracy comes from small, regular routines rather than occasional heroic clean-ups. Decide who updates the system when an asset moves, breaks or is retired, and how quickly. Agree a simple monthly check where someone confirms a sample of assets are where the system says they are. These lightweight routines are what separate a living register from one that quietly rots.
Use this week to review what you have built against the goal you set at the start. Are the assets that matter most all in the system, labelled and assigned? Can your users do their tasks without asking for help? If yes, you have succeeded, and you can now widen coverage at a comfortable pace. The table below maps each week to its focus and the single sign that tells you it is safe to move on to the next stage.
| Week | Focus and readiness signal |
|---|---|
| Week 1 | Structure set up; you can add one asset end to end |
| Week 2 | Core assets entered and physically labelled |
| Week 3 | Several users active and confident on real tasks |
| Week 4 | Update routines agreed; a sample check passes cleanly |
Common first-month mistakes to avoid
The biggest trap is perfectionism disguised as thoroughness. Teams stall for weeks trying to capture every last cable and chair before going live, and by the time they finish, enthusiasm has evaporated. It is far better to launch with your important assets and add the rest gradually while the system is already delivering value. A partial register that is used and trusted beats a complete one that arrives too late and nobody maintains. Progress, not perfection, is the goal of month one.
The other frequent mistake is treating the register as a one-time data-entry project rather than an ongoing practice. Asset management, as the wider field of asset tracking makes clear, is about keeping information current over an asset's whole life, not photographing it once. If you finish the month with clear routines for who updates what and when, you have avoided the trap that undoes most rollouts and set yourself up for years of reliable, trustworthy data.
Bringing it together
A successful first thirty days is not about tracking everything; it is about building something that lasts. Set one clear goal, lay a clean structure in week one, load and label your important assets in week two, bring your people in during week three, and establish the routines that keep the data honest in week four. Follow that rhythm and you finish the month with a register your team actually uses, not another abandoned experiment gathering digital dust.
The best way to learn this plan is to walk through it with your own assets in front of you, because every organisation's equipment and structure is a little different. You can start a free 14-day trial and use these four weeks as your roadmap, adjusting the pace to fit your team. By the end you will not just have a tool installed; you will have a working practice that keeps your assets visible, accountable and under control for the long run.